It looks like a lot of steps but it can be done in under 30 minutes. This method for replacing the snubber rubber on a Guns N’ Roses LE or CE pinball machine is considerably faster than following the instructions for the cliffy, mainly because you don’t have to remove all the screws completely, or cut any wire ties, or unplug any wire connections. You also don’t need to get under the playfield at all. Just lift it out to a normal service position.
Have your 1/4” and 11/32” nut drivers, a small or thin 8mm wrench and mircofiber or other cloth ready.
To help make the job easier when you get to the nuts on the snubber block studs, I recommend trying an 8mm ratchet wrench similar to this one: https://amzn.to/3CObdgi
Then you won’t spend as much time trying to reposition the wrench since there’s only enough room to turn the bottom nut about 1/8-1/4 of a turn each time.
You can also consider just removing the upper part of the scoop which will also give a little more access to the snubber block studs and nuts.
Replacement Snubber Rubbers can be found HERE from Jersey Jack Pinball, HERE at PinballLife, or HERE at Little Shop of Games.
Print Instructions for Disassembly and Reassembly along with photos of the process follow the video.
DISASSEMBLY
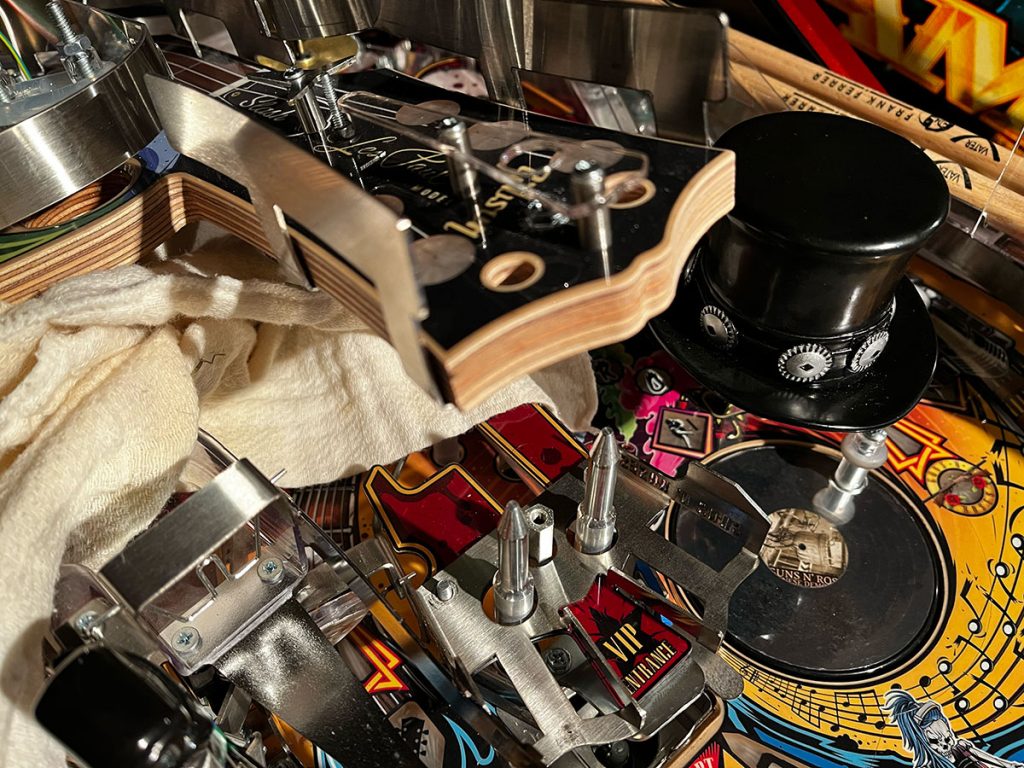
– Remove the bass guitar wire form (11/32”)
– Remove the Axl statue (11/32”)
– Remove the screw under the Axl statue (1/4”)
– Completely loosen (no need to remove) the screw on the guitar head super lock (1/4”)
– Completely loosen (no need to remove) the other 2 screws on the upper playfield – one near the back by VUK and one near the side corner. (1/4”)
(* just un-threading completely and not removing those screws all the way saves a TON of time, aggravation and headache trying to fish them back down into their locations)
– Carefully and slightly lift upper playfield just enough to not snag or break wires. You just need enough room to get a nut driver down to the 3 nuts (11/32”) on the metal guide that’s on top of the plastic under the guitar head super lock and the one 11/32” nut on the gate that connects to the plastic. You’ll likely want to angle the guitar head of it just a little bit towards the bass side of the game for best clearance.
You’ll find the sweet spot if you have your nut driver ready and you can maneuver the upper playfield a little to reach all the nuts as you go if necessary but I was able to reach it all where I had it resting.
– Stick a microfiber cloth under the upper playfield to rest it gently on whatever it’s now situated on top of.
– Loosen the one nut (11/32”) on the right side of the gate.
– Remove the other nut (11/32″) on the left side of the gate that’s connected to the plastic under guitar head.
– Lift the end of the gate off the plastic, swing it out of the way.
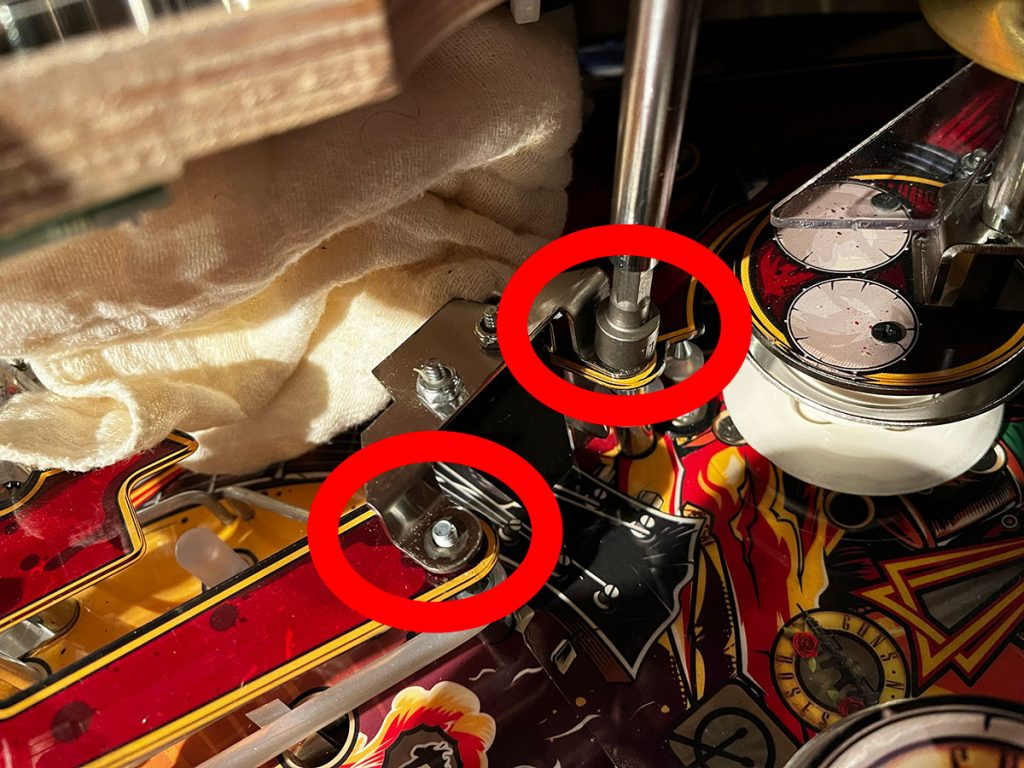
– Remove the 2 nuts (11/32”) under the guitar head super lock that’s holding the metal guide and plastic underneath.
– Lift the end of the gate off the plastic, swing it out of the way
– Remove the metal guide
– Remove plastic underneath
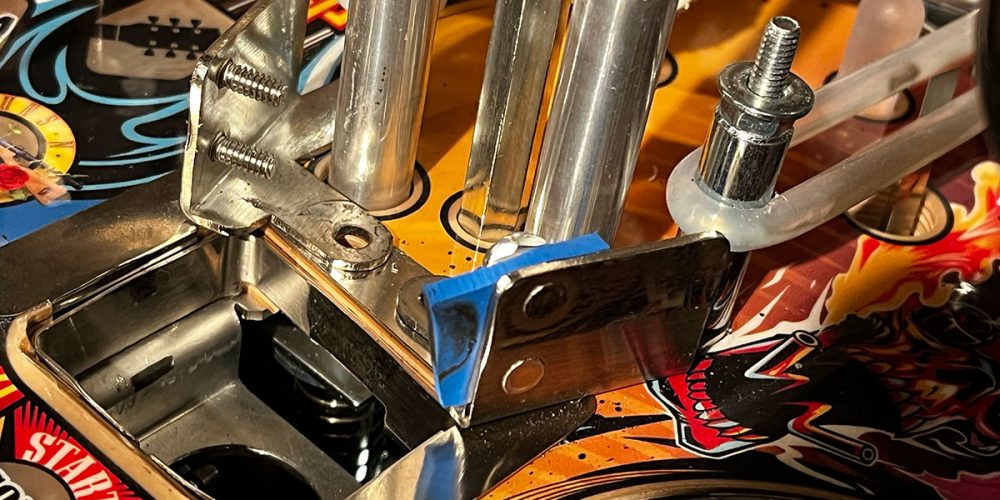
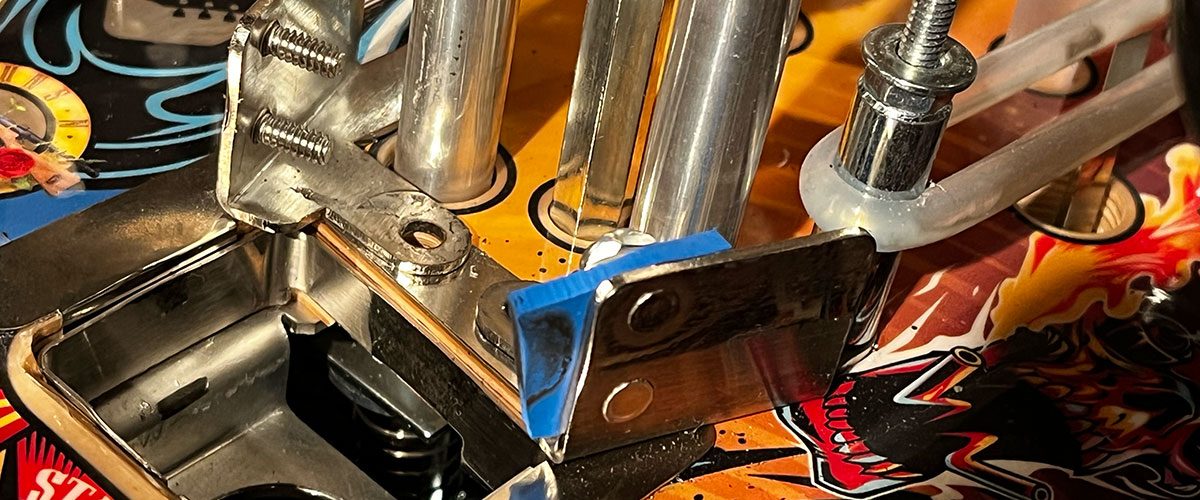
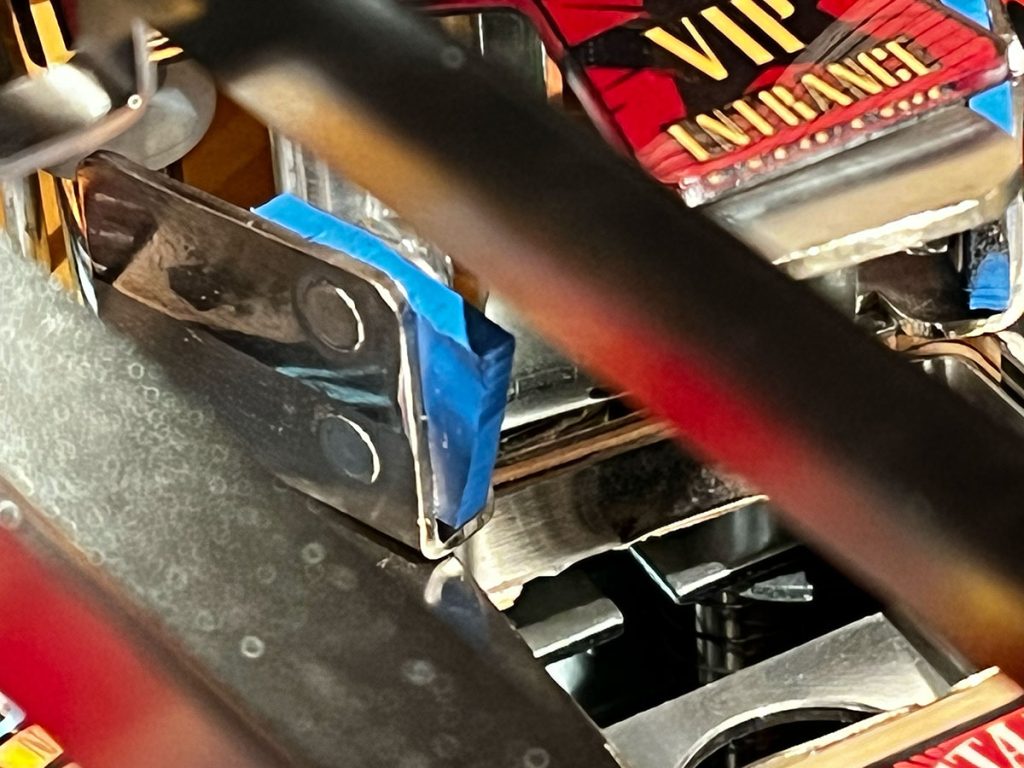
– Remove scoop.
Congrats – You’re in.

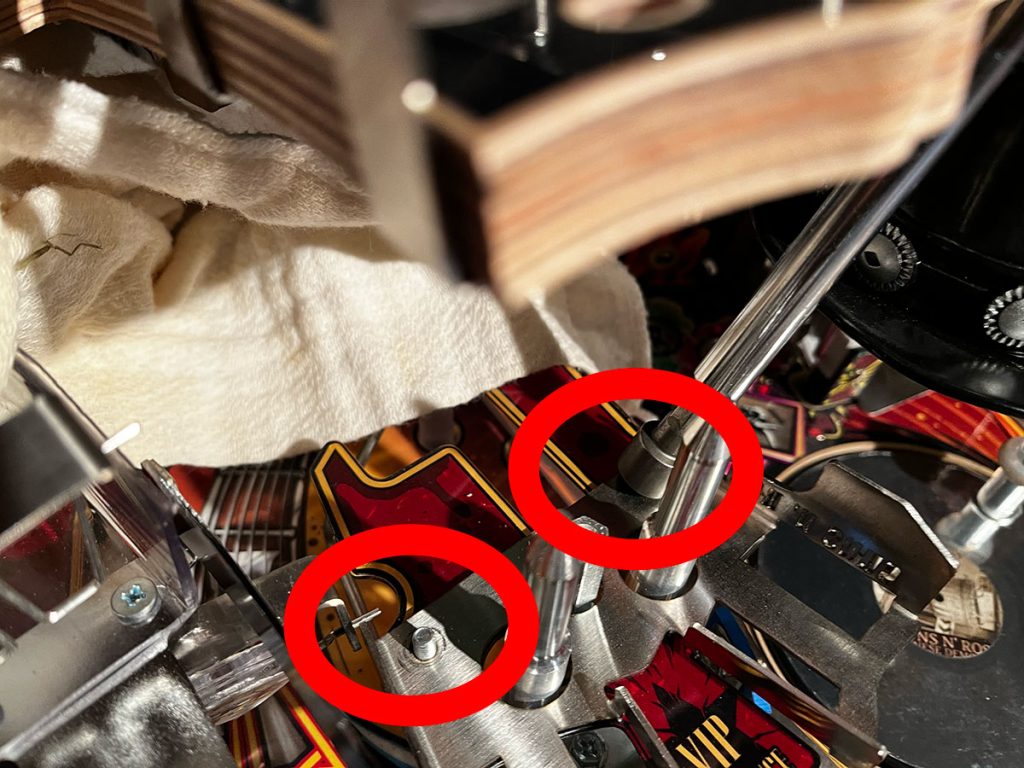
– Use an 8mm wrench to get the snubber rubber nuts off.
– Pull off the plate holding the rubber to the studs.
– Replace snubber rubbers, replace plates, replace nuts on studs.
Snubber Rubber replacement complete.
REASSEMBLY
– Replace the scoop (adjust angle during this step if you’re getting too many STDM balls)
– Replace the plastic
– Replace the metal guide
– Swing the gate back over top of the plastic.
– Tighten all 3 of the 11/32” nuts on the plastic, and the one 11/32” nut loosened on the other side of the gate so you could lift and swing it out of the way.
– Carefully manipulate upper playfield back into place.
– Tighten all 4 screws (1/4”)
– Replace Axl statue (11/32”)
– Replace bass wireform (11/32”)
Pinballer.info is a participant in the Amazon Services LLC Associates Program, an affiliate advertising program designed to provide a means for website owners to earn advertising fees by advertising and linking to amazon.com, audible.com, and any other website that may be affiliated with Amazon Service LLC Associates Program. As an Amazon Associate we earn from qualifying purchases.